9 Yoga Poses to Help Relieve Hip and Lower Back Pain
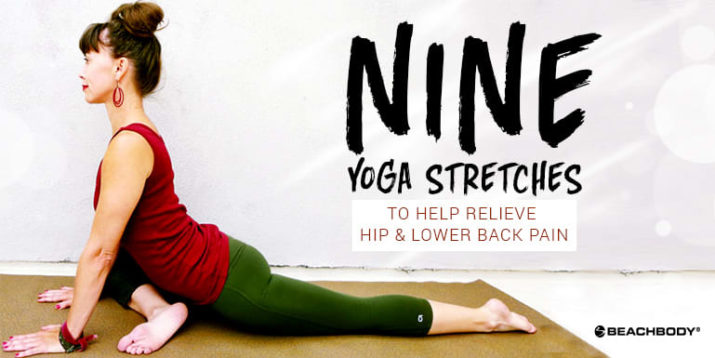
Tight hips can be debilitating. When things aren’t working right down there, even sitting or walking can cause hip pain and possibly lower-back pain as well.
Luckily, there are some lower-back stretches that can help ward off this pain, increase mobility, and decrease your chances of serious injury in the lower region of your body.
These easy yoga poses can also take pressure off the area and can decrease your chances of experiencing lower-back pain, while demonstrating how to stretch your lower back.
These nine easy yoga hip stretches and lower-back stretches can help strengthen your hips, but when moving through them, make sure to listen to your body’s internal voice.
It will tell you if you are in pain or just feeling a stretch.
At first, a stretch may feel a little sore, but will eventually feel like it is releasing tension where you’re feeling tightness.
If, however, you feel sharp pain, back out of the pose. Consider using a prop if you want to continue doing that stretch or move on to another stretch.
If you’re looking for more yoga stretches to help improve your strength and flexibility, check out Beachbody’s 3 Week Yoga Retreat and the Beachbody On Demand Yoga Studio, where yoga experts guide you through the foundations of yoga.
9 Hip Stretches to Help Relieve Hip and Lower-Back Pain
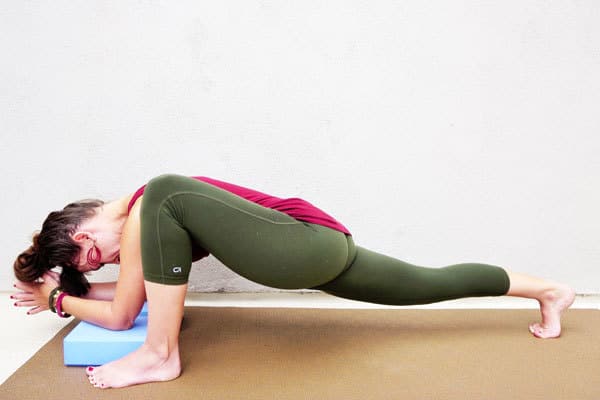
1. Lizard–Lower Lunge (Utthan Pristhasana)
- Step your left foot forward several feet in front of the right foot. Bend the left knee until it lines up perfectly with the ankle.
- Drop the right knee to the ground. Keep the toes curled under on that foot to stretch the calf muscle.
- Walk the left foot out to the side. Place both elbows on top of blocks on the inside edge of the left foot. Keep hips lined up parallel to each other. You are opening the right psoas muscle and the left inner thigh. To get deeper into the right psoas, lift the right knee into a high lunge as pictured below.
- Hold for 8–10 breaths, then switch sides.
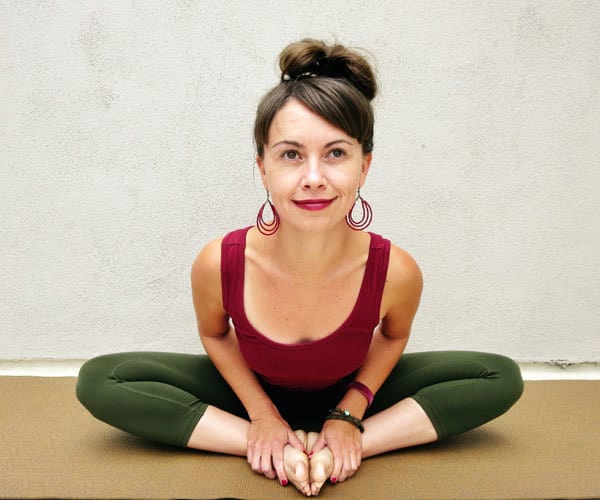
2. Bound Angle Pose (Baddha Konasana)
- Bring the soles of your feet together, pulling the heels close to your groin, bending the knees, and butterfly-flare the legs open.
- Keeping your spine straight, lead with the chest, pull your shoulders back, and fold toward your feet. This pose will open and relax the inner thighs and groin.
- Hold for 8–10 breaths.
- Tip: If you notice your knees are set too high to relax, simply place a blanket right under the sit bones to prop the hips up. You can also take the feet out further from the pelvic cavity to create a diamond shape with the legs.
3. Cow Face Pose (Gomukhasana)
- Begin by threading the left leg under your right leg.
- Work toward stacking the knees, while keeping both sit bones on the ground.
- Sit in the pose for several minutes. When the muscles start to loosen and you no longer feel a stretch, fold forward with a straight spine. If this hip stretch is too intense, you can situate both sit bones on a blanket and place a block or blanket between the knees.
- Hold for 8–10 breaths, then switch sides.
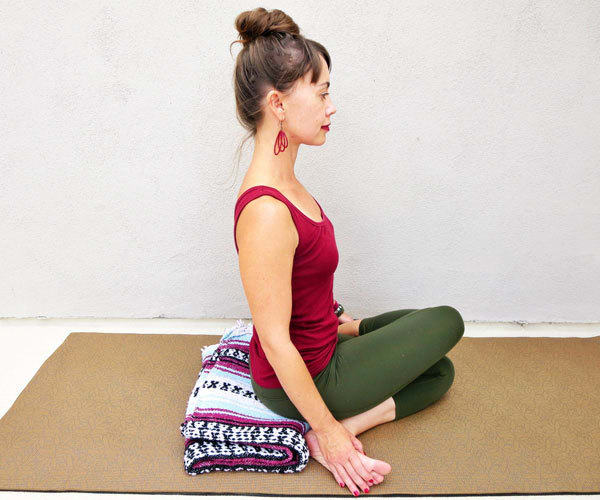
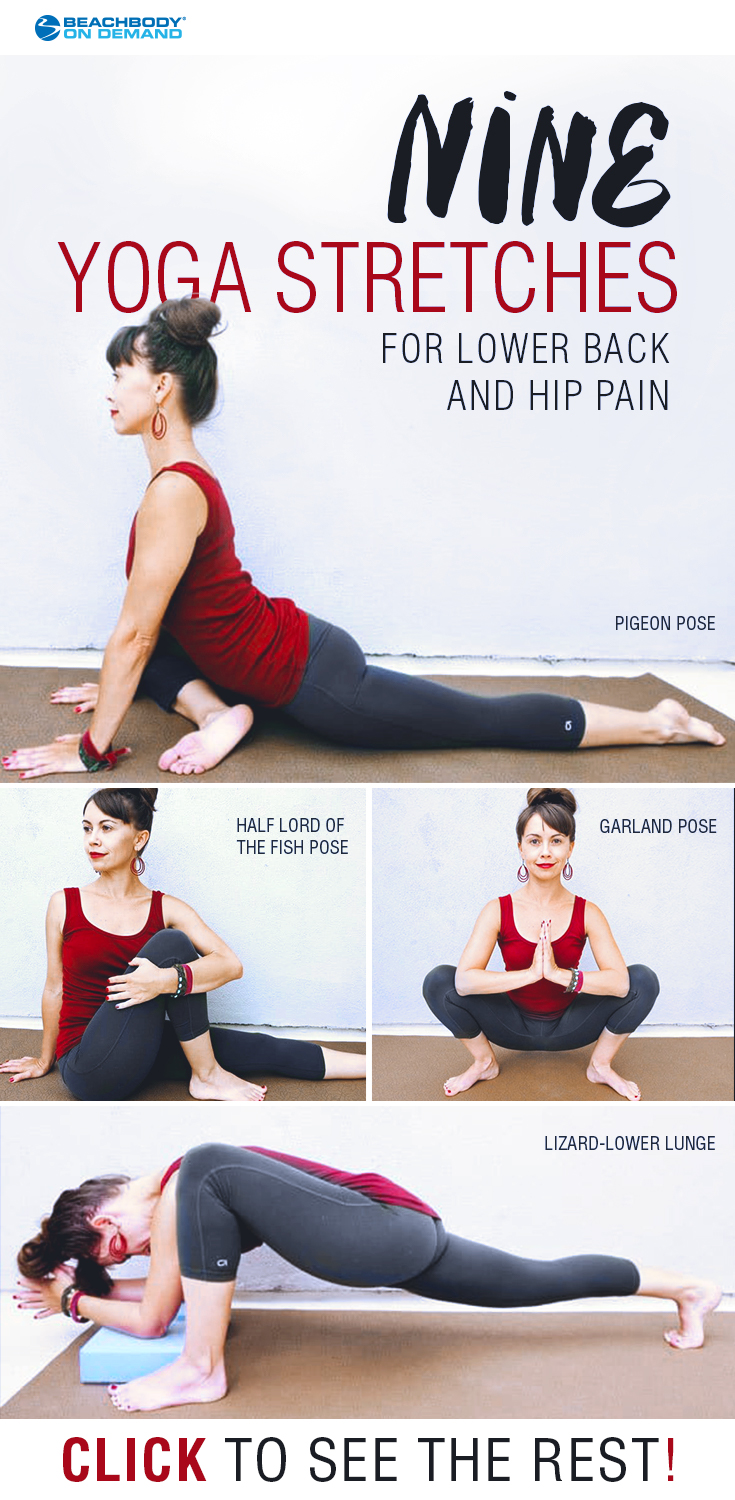
4. Pigeon Pose (Eka Pada Rajakapotasana)
- Start in downward facing dog. Lift the right leg and step it forward between the hands.
- Drop the left knee down and untuck the toes.
- Slide the right foot over toward your left pelvic bone, placing the outside edge of the right leg on the floor. Tuck the right toes in (flexing the foot).
- Line up your hips parallel to each other, continually pressing the left hip toward the floor. If this position is too difficult, place a blanket under your bottom. To intensify the stretch, move the right foot away from the left side of your body and drop to the elbows or chest. To make this pose less intense, move the right foot closer to your right leg and stay on the hands instead of folding.
- This is a yoga hip opener as well as a deep stretch for the psoas, shin, glutes, and outer hips.
- Hold for 8–10 breaths, then switch sides.
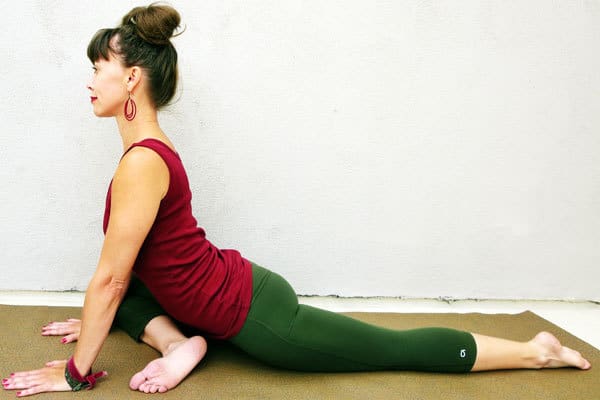
5. Happy Baby (Ananda Balasana)
- Lie flat on your back, grab hold of both feet with each hand, bend the knees, and pull them toward your armpits.
- Once in the proper position, rock side to side, keeping your head on the floor. The Happy Baby yoga pose will externally rotate and stretch the hips, loosen the inner groin muscles, and help realign the spine.
- Hold for 8–10 breaths.
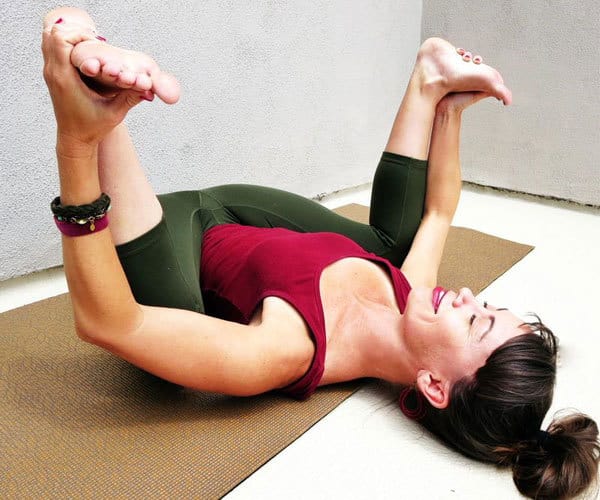
6. Fire Log Pose (Agnistambhasana)
- Sit on the floor with a straight spine, both sit bones pressing against the ground.
- Take the left leg out in front of you and bend it until it is in a straight line and parallel with your body, knee, and ankle.
- Stack the right leg on top of the left, lining up the right ankle to the left knee and the right knee to the left ankle. If you find this position too difficult, you can use blocks as support to lighten the pose. The Fire Log Pose is a deep hip stretch and a good stretch for the glutes as well. It’s a pose that also stretches and strengthens the groin, calves, thighs, and abdominal muscles.
- Hold for 8–10 breaths, then switch sides.
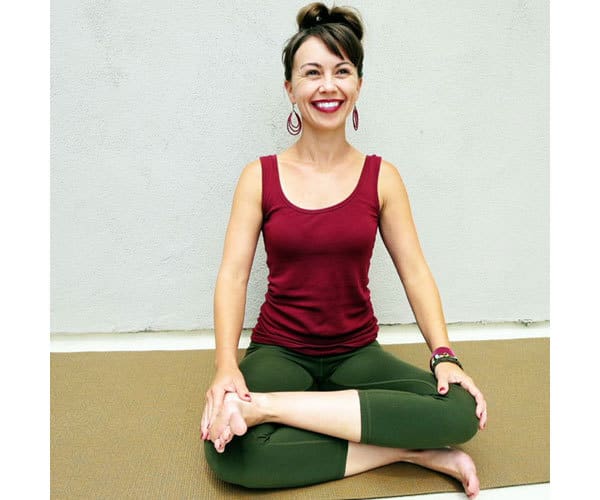
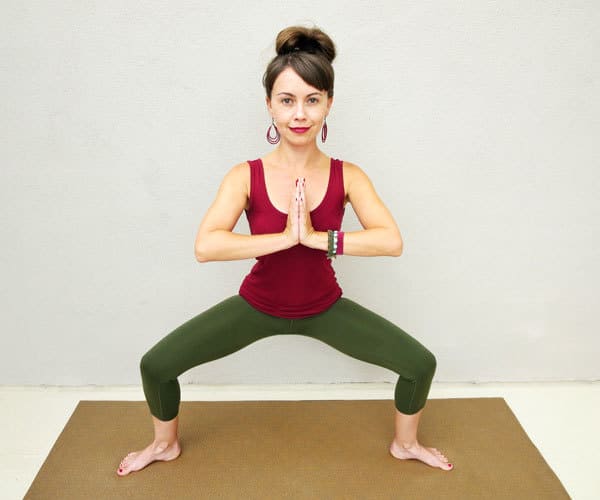
7. Goddess Pose (Utkata Konasana)
- Step your feet out very wide, turn the toes outward, and bend the knees so they line up with your ankles.
- Tuck your butt in to engage the core. The further the toes are pointed outward, the deeper the stretch. The Goddess Pose will stretch your groin, inner thighs, and hips.
- Hold for 8–10 breaths.
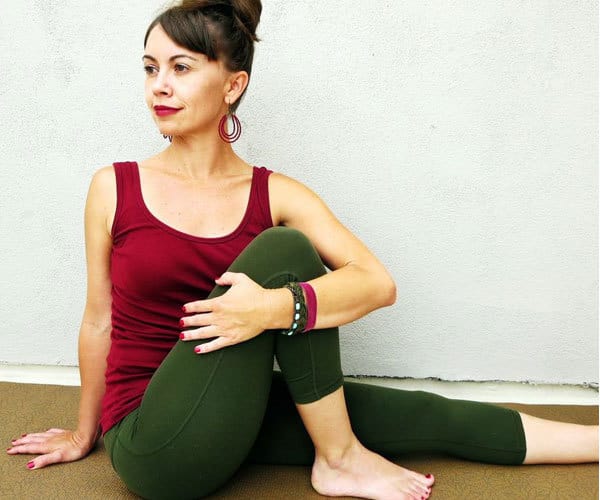
8. Half Lord of The Fishes Pose (Ardha Matsyendrasana)
- Sit on the floor and extend both legs out in front of you.
- Keep the left leg straight and bend and pull the right leg in. Line the right heel up approximately 2 inches away from the back of the right leg and 2 inches away from the left thigh.
- Sit up very tall, avoiding sinking into the lower back. Wrap the left arm around the right leg, creating a spinal twist.
- Move the left shoulder forward as you move the right shoulder back, and attempt to line up the shoulders. Take your gaze over the right shoulder. The Half Lord of the Fishes Pose is a great hip and lower-back stretch that will also stretch your glutes, spine, chest, shoulders, and neck.
- Hold for 8–10 breaths, then switch sides.
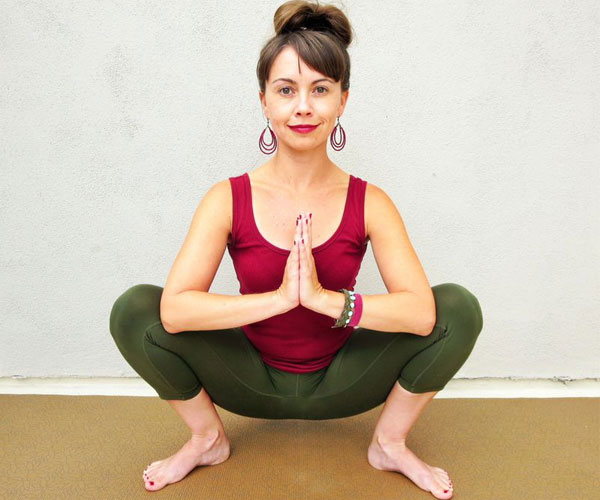
9. Garland Pose (Malasana)
- Turn your heels so they line up with your hips; turn your toes outward.
- Bend the knees until you reach a squatted position. Place a blanket under the heels if they have to be lifted while squatting. You can also stack two blocks to sit on to work up to the full integrity of the pose.
- The Garland Pose increases fluidity in the hips and stretches the ankles, knees, and lower back. It also strengthens the core muscles.
- Hold for 8–10 breaths.
Want more lower-back stretches? Sign up for Beachbody On Demand and check out 3 Week Yoga Retreat and the Beachbody Yoga Studio.
All photos by Lulu Lam.
