Are You Using Proper Cycling Form? 3 Tips to Avoid Injury and Improve Performance
Form Tips | Fix Numb Feet | Prevent Cramping | Skip Resistance?
Maybe you got the basics of balancing, steering, and braking down decades ago. But there are nuances to proper cycling form that you probably never learned when you were swerving down the sidewalk on your banana seat.
If you’re spending hours in the saddle each week in pursuit of greater fitness, you need to get serious about your cycling form. Here’s why your form is important, as well as how to fix it.
Why Is Proper Cycling Form Important?
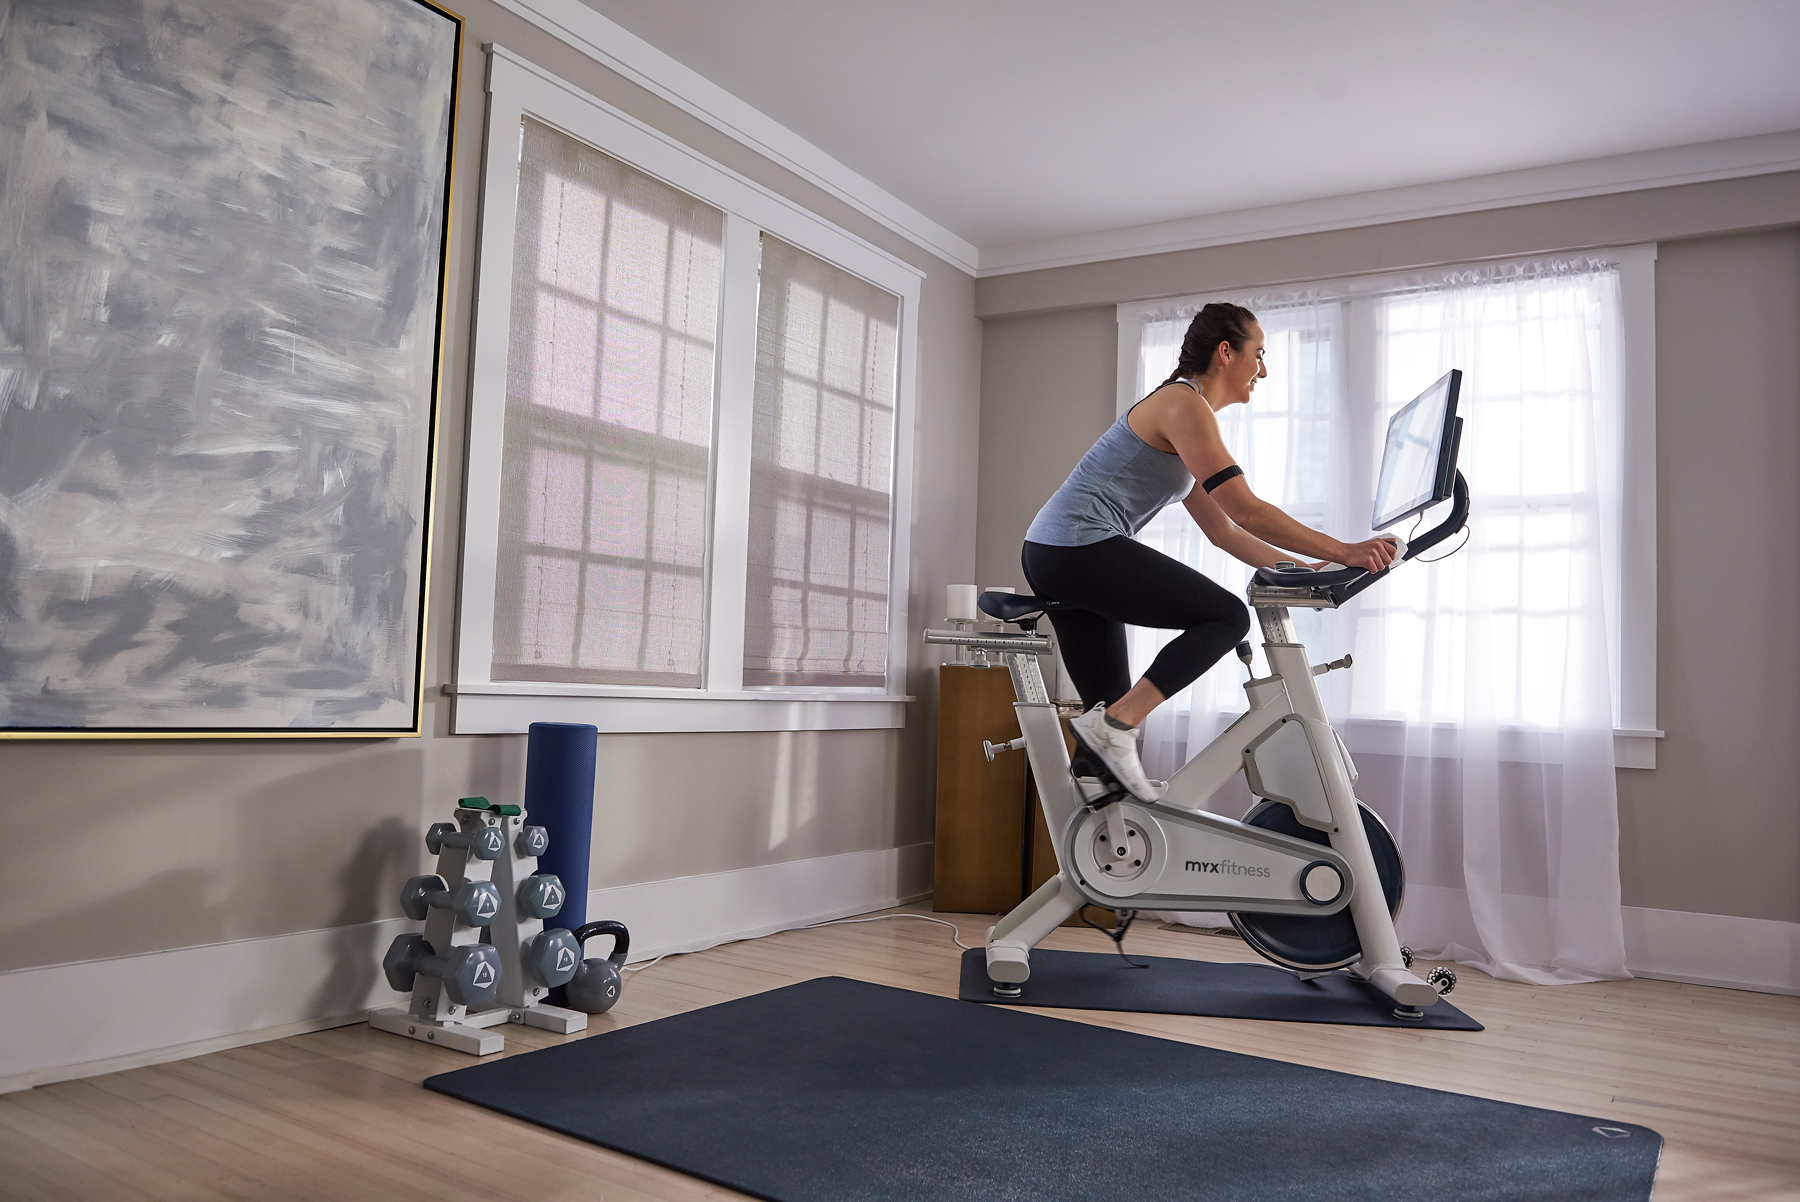
In the course of a 50-minute ride, you might rotate the pedals 4,000 times. That’s 4,000 reps of a single exercise.
Do it correctly, and cycling will build stamina, strength, and power. But if your form is off — even slightly — that 50-minute ride offers 4,000 opportunities to sustain an overuse injury.
“Cycling with incorrect form can often lead to discomfort such as lower back pain if you are too far from the handlebars,” says BODi trainer Justin Flexen.
Other positioning mistakes include placing your seat too close to your handlebars, which can lead to knee pain; or placing your seat too low, which can lead to hip pain.
But injury prevention isn’t the only reason to focus on proper cycling form and setup. “Good form ensures that you have a comfortable and efficient ride,” Flexen adds. That translates into more speed, strength, and fitness — not to mention way more fun.
3 Tips for Proper Cycling Form
While riding,
- There should be a slight bend in your elbows, and your back should be straight. Riding with a straight back helps with engaging your core and belly breathing.
- At the farthest point in your stride, there should still be a slight bend in your knee.
- You should push through the center of your foot when pedaling for maximum power. Think about not just pushing down but also pulling up on the pedals to recruit your quads and hamstrings equally.
Checking on your positioning and working toward proper cycling form will ensure you’re cycling with ease for years to come.
“Improper sitting position eventually leads to muscular and joint injuries,” Murdoch warns. “Incorrect sitting can cause repetitive use syndrome,” which you may experience as “muscular pain and tendon tears or inflammation.”
Here’s how to make sure your form stays on-point throughout your ride.
1. Set up your bike properly
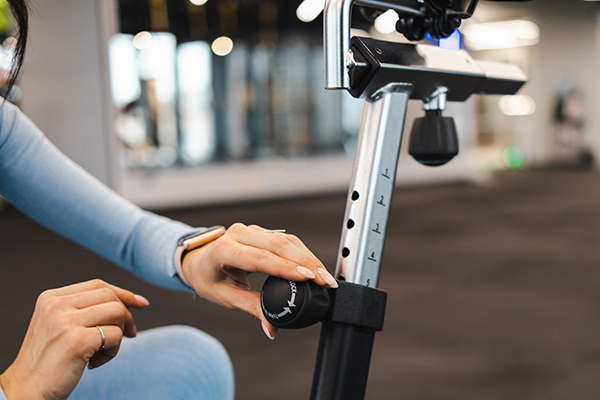
There are three factors to ensure proper bike setup:
Seat height
Your legs are strongest close to the locked-out position, so adjust your saddle (seat) height to take advantage of that.
Stand next to the bike with your feet flat on the floor. From here, you should set “the seat in line with the top of the hip bone,” says Chris Murdoch, accredited NASM personal trainer who has been teaching indoor cycling for 26 years.
“Riders often position their saddle too low,” Flexen says. That can lead to knee, hip, and lower back pain — not to mention slower, less efficient pedaling. “More often than not, a higher seat is a much more comfortable — and stronger — position,” Flexen adds.
If you feel pain at the front of your knee while pedaling, you may need to raise your seat. Pain at the back of your knee, on the other hand, may be telling you it’s time to lower your seat slightly.
Seat depth
You may be tempted to ignore this one, but this is where the power of your stride is.
Sit on the bike seat and place both of your feet on the pedals. Find the position where your feet (on the pedals) are at the same height and parallel to the floor.
While in this position, holding the handlebars, the kneecap of your extended leg should align with the tips of your toes.
Handlebar height
Sure, cycling is a lower-body sport. But your hand positioning determines the angle of your torso — which, in turn, determines how much power your hips can generate.
This “can be set to a comfortable height for the rider that allows for a lengthened natural spine with open or wide shoulders and chest,” explains Murdoch.
Position the seat so you can reach the handlebars without pain in your lower back, and without shrugging your shoulders.
“You should be able to rest your hands comfortably at the base of the handlebars,” Flexen says. “You should be able to lift your chest and drop your shoulders down and away from your ears with ease.”
2. Keep your hips level
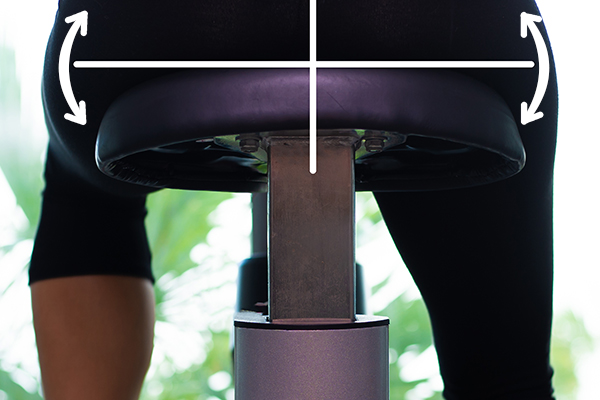
When you’re riding, your weight should rest evenly on your two sitting bones, with minimal shifting left or right. If you feel sideways movement in your hips with each stroke — particularly if it’s uneven — you’ll likely develop lower back pain over time.
The fix: Stretch your hips carefully before each ride, pulling each knee to your chest to release the tension that pulls your hips off-kilter.
Still bobbling left and right? Try the next step…
3. Keep back when you stand
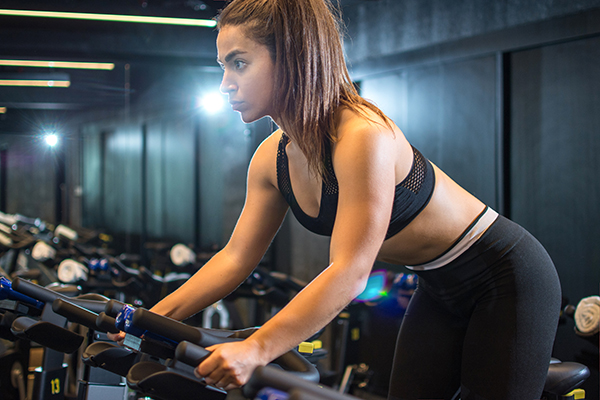
Standing in the saddle, and getting your full weight into each pedal stroke, gives you a critical power boost when you’re accelerating, grinding through a steep climb, or pushing over a short rise.
But you need to keep your hips in the right spot, says Flexen. “Many riders shift their weight forward, away from the saddle,” Flexen says. That puts unnecessary strain on the knees.
Instead, he says, “Keep your hips back so that you maintain contact with the saddle.” That allows your knees to remain behind your toes, preventing pain and irritation in your joints.
Why Do My Feet Go Numb When Cycling, and How Do I Fix it?
Numb feet feel like a severe issue when it happens, but this situation has a shockingly simple solution: Check your shoes. Murdoch says improper shoe fit is a common cause of this complaint.
You’ll need to check more than the shoe size, though. Check your shoes’ tightness, support, and strap position.
Your feet swell as you ride due to increased blood flow, so don’t pull your straps too tight before you get going. Try clipping into your bike using cleats — if your bike has clip-in pedals — just below the ball of the foot, which may help distribute your weight better across your entire foot.
And make sure to find shoes that are right for you.
How Do I Avoid Cramping During Cycling?
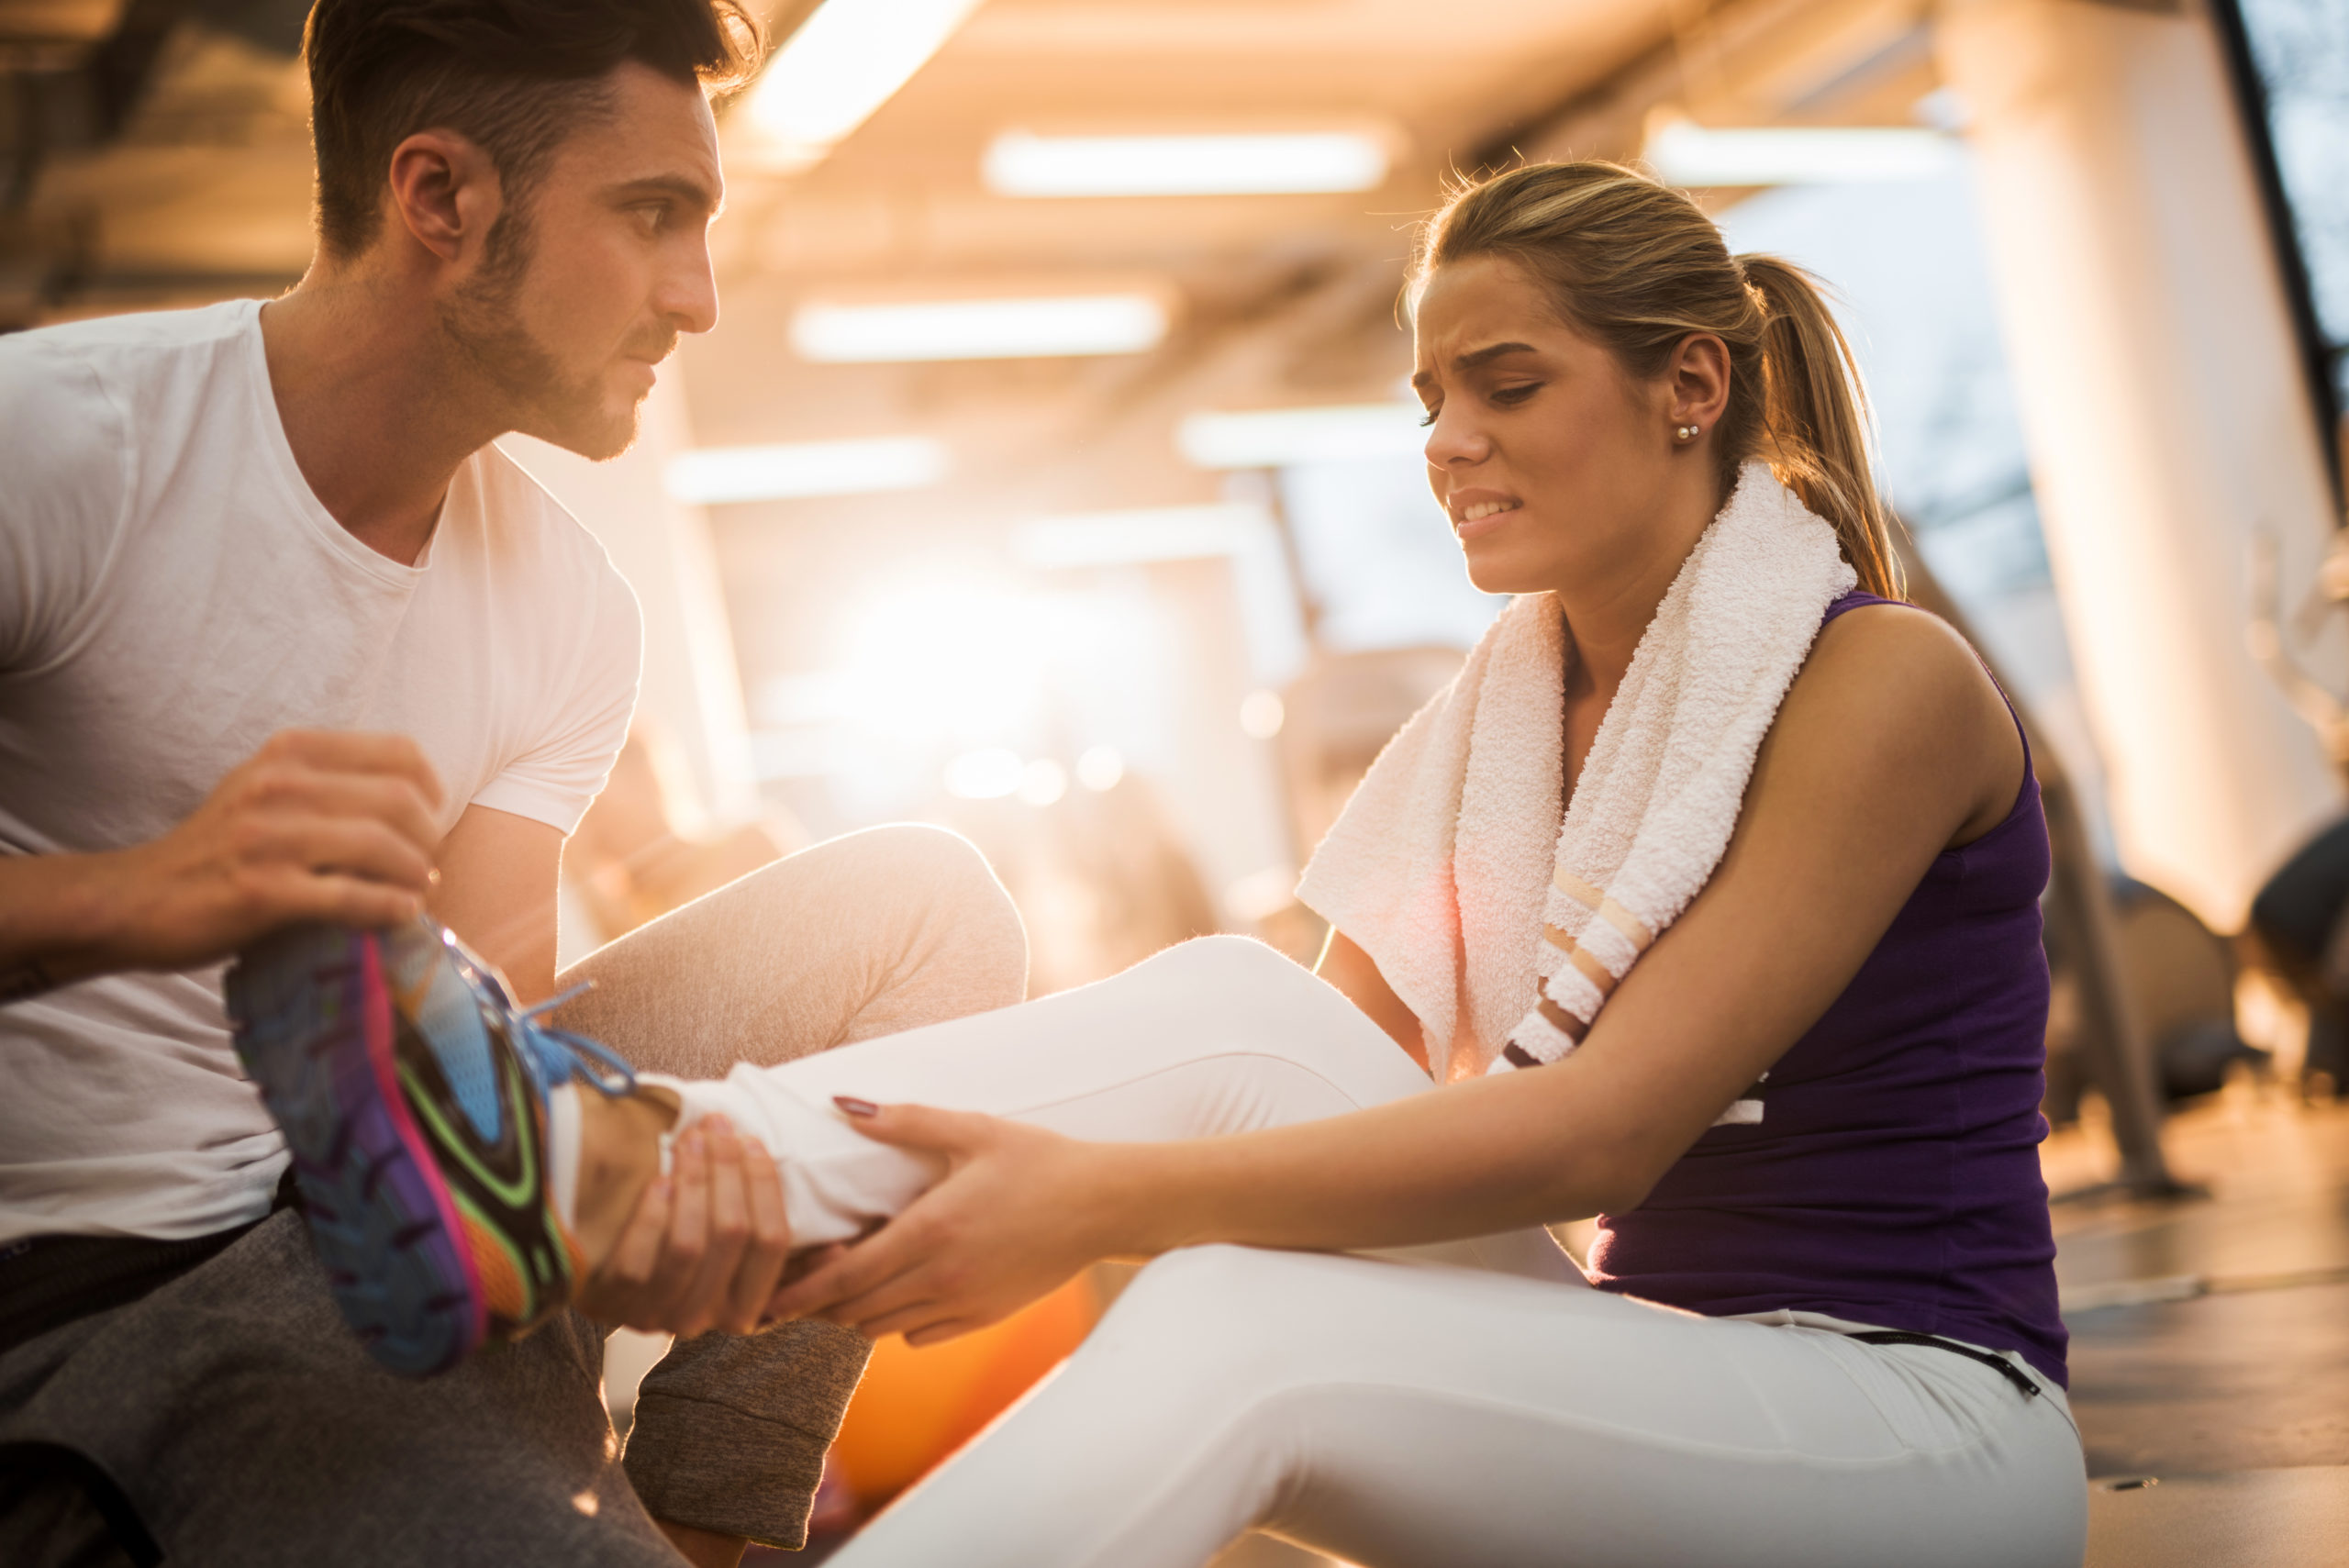
There are several ways to set yourself up for a cramp-free ride.
1. Hydrate
First, make sure you’ve had enough to drink. “Proper hydration with electrolyte replenishment will prevent cramps,” says Murdoch.
2. Wear the right shoes
Wearing the correct shoe size can also prevent some problems. Not sure if it’s right?
Murdoch suggests wiggling your toes in your shoe to check that you have just enough room and that you haven’t cinched them too tight.
3. Use form to release tension
During your ride, take a moment to check your pedaling form. Your power should come from a flat-footed stride. When you’re tired, though, you may be more likely to point your toes as you push.
Doing so can lead to calf cramps. To release the tension in your calves, push down with your heel as you ride to lengthen the muscle.
If a nasty quad cramp hits you, unclip yourself and pull your heel to your butt to release some tension before continuing.
Do I Have to Use Resistance When Indoor Cycling?
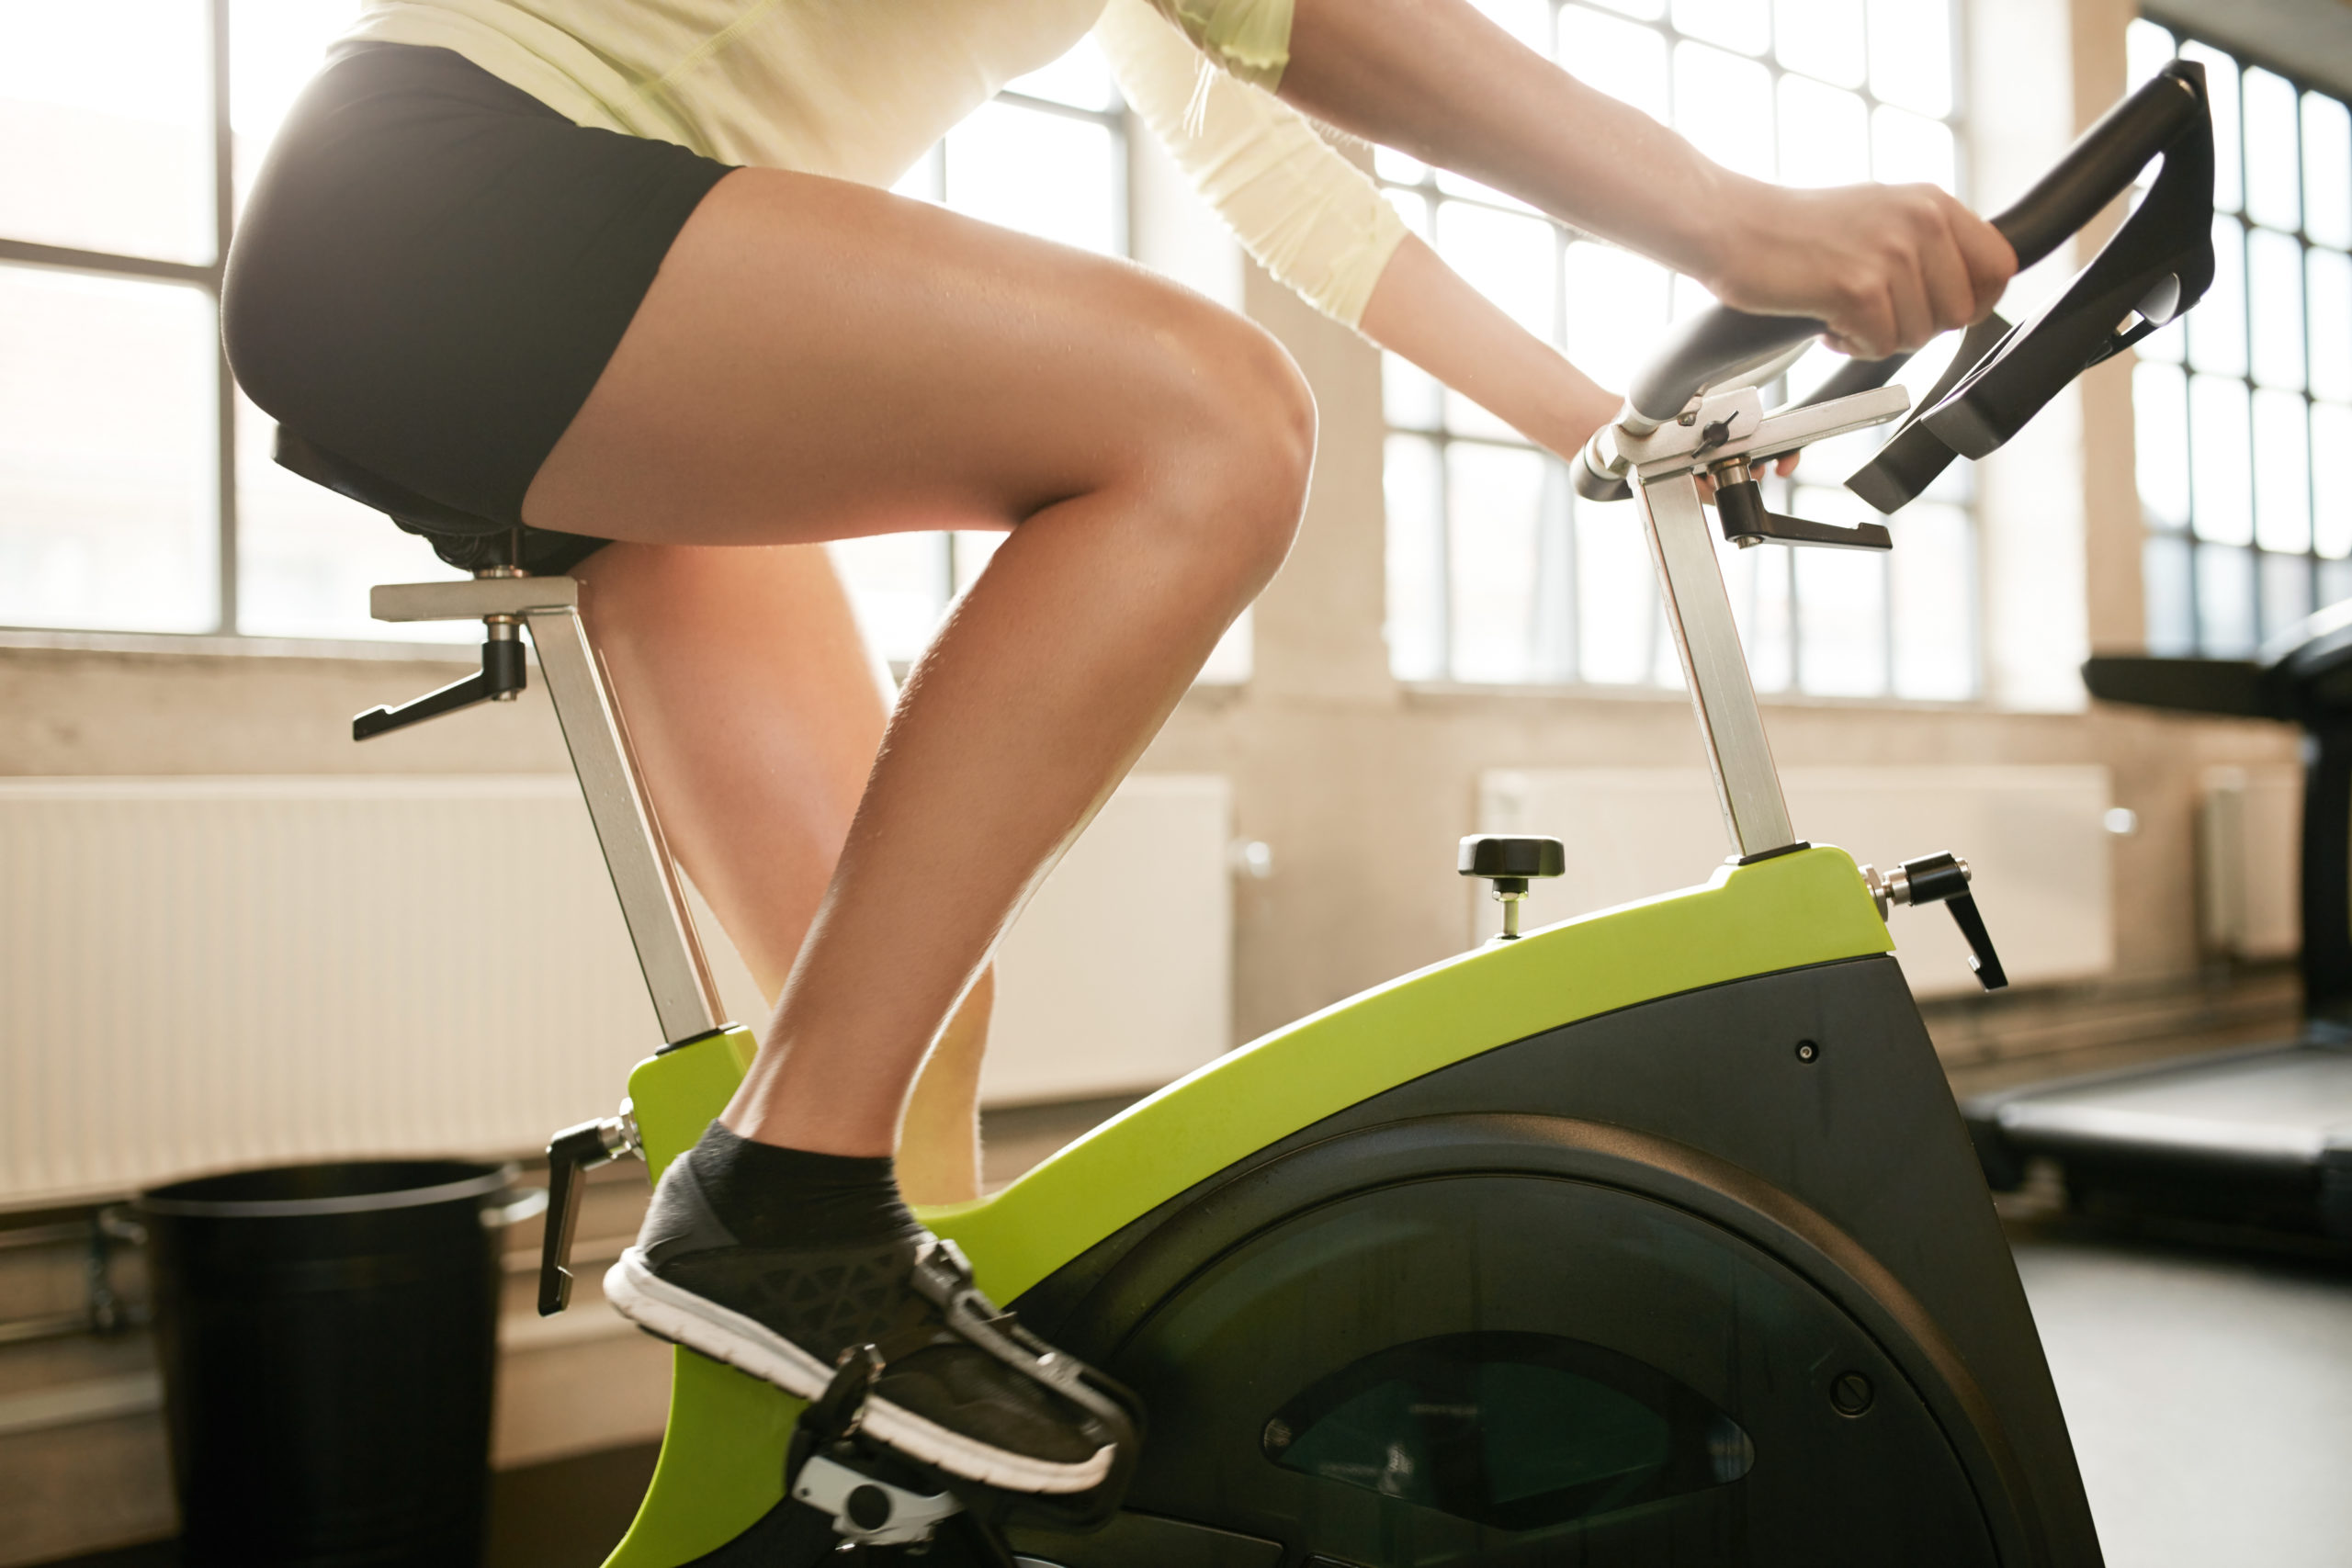
It’s up to you to shape your indoor cycling session, but Murdoch says it isn’t a good idea to skip the resistance entirely. The resistance is there “to challenge the muscles,” he explains, adding that going from more resistance to less helps “flush the legs out.”
Instead of avoiding it altogether, try dialing it back slightly if the ride is getting too challenging.
