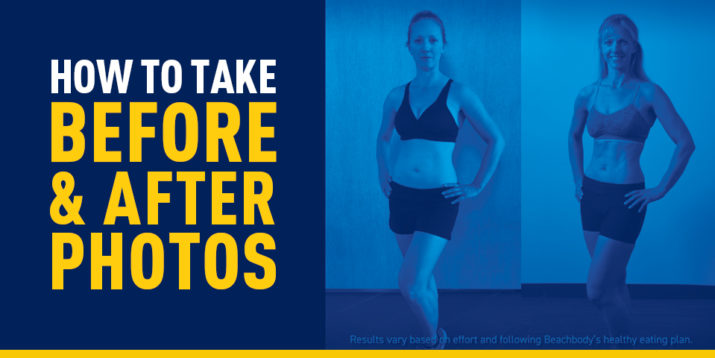
How to Take Your “Before” and “After” Photos

You’re about to embark upon a journey that will change your body and your life, and nothing captures the results of this experience (at least the visible part of it!) quite like a set of “before” and “after” photos.
Whether you just want to keep them as a personal reminder of how far you’ve come, or if you want to shout it from a mountain and share your story with the world, prepare to get your Ph.D. in transformation photography!
Camera, Photographer, and Location
It’s best to use a digital camera so you can take high-resolution photos.
If you have a camera tripod or something similar, that’s great; otherwise, try and get someone to take your photos — don’t worry, they don’t have to be a pro photographer!
Choose a well-lit area in front of a plain wall or door. The less clutter in the background, the more attention on you and your transformation.
Dress Code
A swimsuit or form-fitting workout clothes work best. You should show as much of your body as you’re comfortable with, but please keep it appropriate for public consumption.
You might be tempted to take your transformation photos in your undies; after all, they cover the same amount of skin as a swimsuit, right?
True, but would you wear your undies out in public? Probably not.
Photo Composition
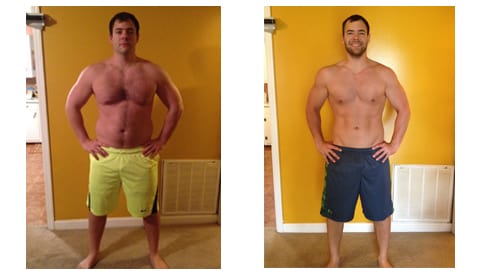
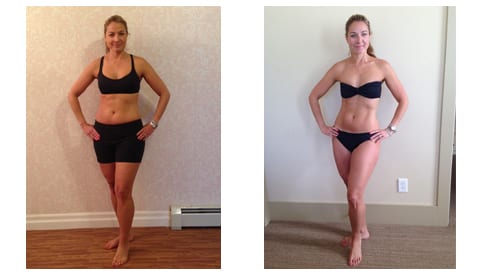
Take high-resolution full-body photos — or at least from head to hip — and make sure your face is clearly visible.
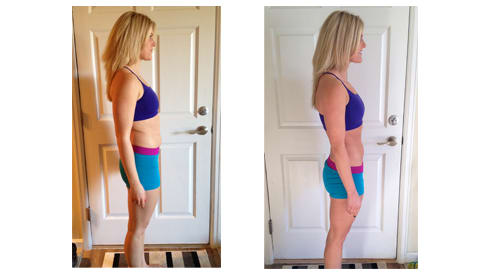
Try to take the photos from different angles, i.e. a front view and a side view.
And remember to include your face in the photos so that we can easily identify you! Make sure each photo doesn’t exceed 20 MB.
Whatever you do, consistency is key!
Ideally, your “before” and “after” photos will show you doing the same poses, wearing the same clothes, in the same place both before and after your transformation. That way, your body is the only thing we see changing.
And don’t “suck it in” or “push it out” — just flex if you feel good and let us see the REAL YOU!
Timing
Make sure to take the photos at the beginning, during, and end of your program so that you can see your progress over time.
If you’re doing a 90-day program, for example, you could take photos on Day 1, and then again every 30 days thereafter (on Days 30, 60, and 90) until you’re done.
Here are some examples of good “before” and “after” photos:


