Feel Your Best With Standing Side Bend Pose

Standing Side Bend pose is a foundational yoga posture that helps stretch the muscles of the side body while also helping to stretch and tone the muscles that support your spine.
It’s usually done at the beginning of your practice to prepare your body for other harder poses.
If you plan on working your core muscles in your yoga sequence, Standing Side Bend pose is a must-add for your routine, and if you’re a beginner, it will help you build a solid foundation for a healthy overall yoga practice.
Standing Side Bend: Step-by-Step Instructions

We spoke with 200-RYT yoga teacher Ali Jehn on the steps to get into the posture. Prepare to feel a lot more mobility in your spine when Standing Side Bend pose becomes part of your daily yoga routine.
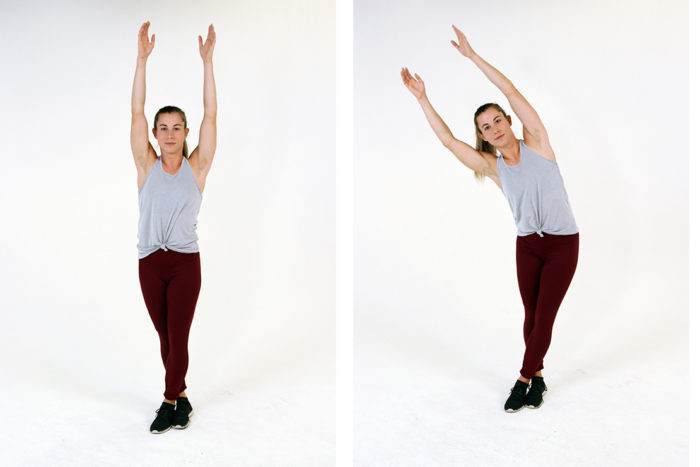
- Stand tall and place your feet and legs together. Relax your shoulder away from your ears and gaze forward.
- Reach both arms overhead and interlace your fingers while leaving your index fingers extended and pointed toward the ceiling; this grip is known as a steeple grip in yoga.
- Align your biceps with your ears.
- Squeeze your inner thighs and activate your core for balance.
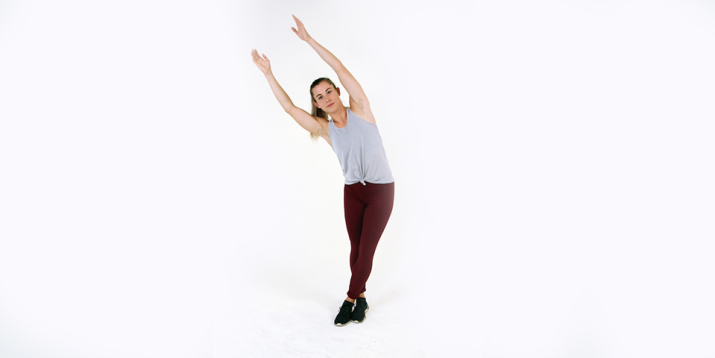
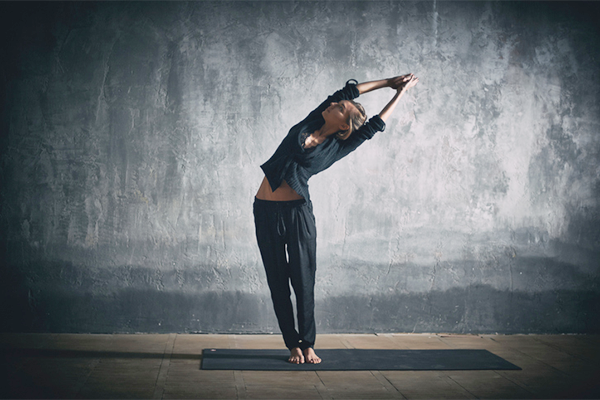
- Take a breath in and gently bend your body to the right on your exhale. Lengthen from your left hips through your ribs. Pull your left arm over to the right side of the room.
- Keep your core engaged. You might feel a bit of shaking through your core. Work to stay engaged and breathe deeply, but if it’s too much feel free to back off.
- Focus on lifting up and over, rather than just bending sideways. Compress (decrease the space from your shoulder to your hip) your right side as you lengthen your left side.
- Inhale to return to the center. Exhale and repeat on the other side.
How to Make Standing Side Bends Easier
If you have trouble balancing or keeping your feet together, step your feet about hip’s width distance apart. Jehn recommends keeping your feet together to activate your core muscles more because you’re working harder to balance.
Another considerable modification is to hold your hands at heart center (in prayer) to protect your shoulders from aching.
How to Make Standing Side Bends Harder
For a challenge, add weight for a standing dumbbell side bend. Use less weight to start and begin with your feet in a wider stance for more balance.
- Hold the dumbbells at your chest. Bend to the right (still keep your weights at your chest) as you would in a non-weighted Standing Side Bend Pose.
- Hold for a beat, then return to the center to repeat on the other side.
- Avoid holding the weight above your head to protect your shoulder joints and muscles.
What Are the Benefits of Standing Side Bends?

Similar to Mountain Pose, Standing Side Bend pose is a gentle movement that engages both your spinal erector muscles, as well as your oblique abdominals.
The pose provides ample opportunity to tune into your breath (which is fundamental in any yoga class).
Consider this pose a foundational stretch that strengthens your lower core muscles. Standing Side Bend Pose is also excellent for your spinal health.
“Side bends are incredible for the human body because our spine can move in so many different directions,” says Jehn. “We tend to limit it to moving up and down or forward and backward, so by incorporating side bends will promote the longevity of your spinal health.”
Here’s what’s happening in your body during this stretch:
- Promotes better posture. Standing Side Bend opens your upper body with a hip to shoulder stretch. As you stretch from your hips to your shoulders, you are stretching your intercostal muscles (the muscles between your ribs), and toning your spinal muscles to better protect your spine. “You are training the muscles around your spine to become stronger in every sense,” say Jehn.
- Strengthens your mid and lower core. Your abdominals and spinal erector muscles engage to help you balance as you fold to the side. “The biggest portion of the body that the standing side bend should target is the [lower to mid-core],” says Jehn.
